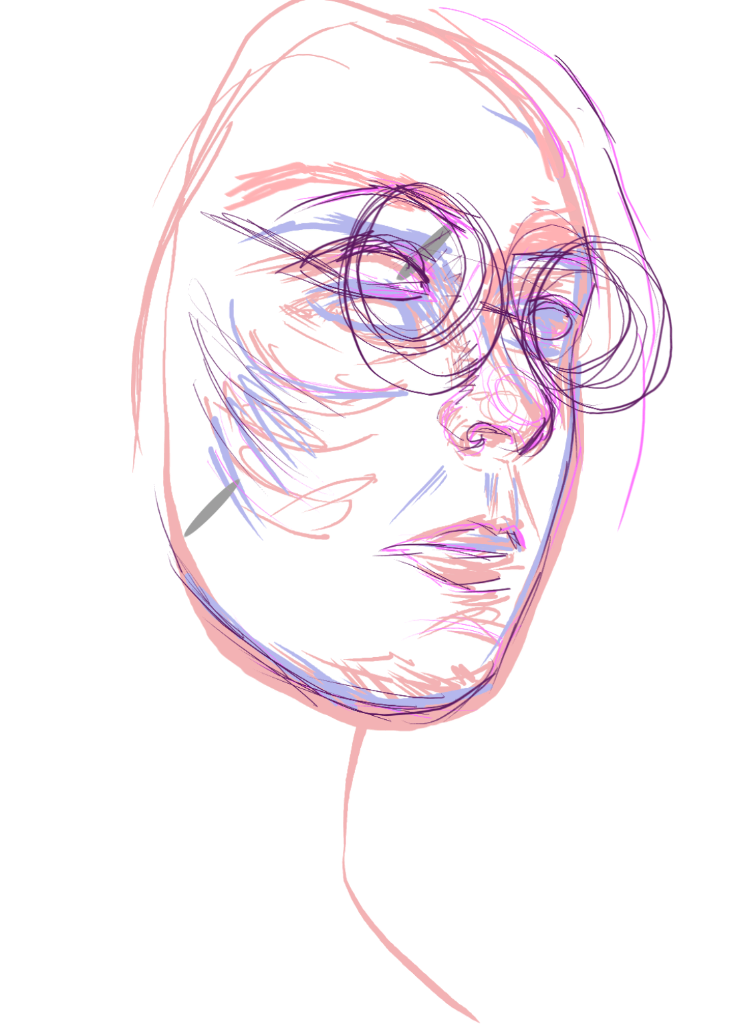
Sometimes it’s pretty hard to develop your eye for seeing, or drawing more accurately from life/reference. Here’s a few tips and an exercise to help you out!
It’s important to do this so you can draw things from memory and learn proportions. Definitely challenging and frustrating, but worth working exercises like this often.
Having intuition for perspective and proportion is useful because I find the grid method and constantly measuring stuff out too meticulously for every sketch to be annoying. Of course, when trying to mirror a reference, those techniques can be helpful.
I’m always working on this myself, but I think my ability to draw realistically has much improved since I started doing this exercise.
Gearing up for the #OphthoMatch this year! In my free time, I enjoy tying my love for medicine and art together. I think the lacrimal system is interesting and beautiful, and loved painting this piece.
#MedSky #SciArt
May 31, 2025 at 4:08 PM UTC
My general tips as of now are:
- establish a few key landmarks and measure roughly with 1. a pencil/pen etc 2. reference points from the actual subject itself (for example, dividing the face into thirds or using landmarks such as the eye’s inner corners to line up the nose)
- look at negative space, those shapes are surprisingly helpful
- look back and forth from reference and try to spot your errors
- flip reference upside down if it’s a pic you can turn over, flip it horizontally as well
- first establish big shapes, then break it down into more simple forms. Helps avoid huge errors in perspective and form,
- have an idea of the proportions of the subject you’re drawing to make life easier so you know what you need to double check when you measure something.
- try to guess first, then measure if needed. This helps you train your intuition and not mindlessly copy.
Try This Exercise
I made an exercise that’s easier to do digitally, though you could do it traditionally if you print your ref photo & use a lightbox or window or with layers of tracing paper.
For the digital file, layers have names and brief directions + an example
Steps
Here is a set of kind of random & chaotic steps that you can follow after downloading the above file. This could be replicated traditionally with tracing paper.
- Open the file in your preferred image editor. Then you will want to find a reference photo on your camera roll, a reference for which you have usage rights (if you share the artwork in the future), or place like Unsplash or Pixabay allows you to find references freely w/o copyright problems. Then you drag that image file to the part where it says drag photo here. Don’t hide it yet.
- On Freehand layer, mark some major landmark like the outline of the key forms w/o any inner details.
Or for an extra challenge, just mark a top and bottom line for some landmark of your choice.
- Hide the reference photo layer completely.
- Now draw freehand from the reference photo that’s off to the side somewhere. You aren’t tracing it.
- Now when you feel good about your freehand, turn back the reference photo layer back on. At this point, to keep things less crowded, probably hide the freehand layer.
- On corrected trace over, trace out forms and shapes and contours.
- Unhide the freehand layer and now compare how off you were. At this point, you can freehand in another color and see if you can get closer. For my example, I tried doing it twice. You can do it as many times as you wish and I find that it does help!
Hope this helps!

'%20d='M69.364%2019.146c36.687%2027.806%2076.147%2084.186%2090.636%20114.439%2014.489-30.253%2053.948-86.633%2090.636-114.439C277.107-.917%20320-16.44%20320%2032.957c0%209.865-5.603%2082.875-8.889%2094.729-11.423%2041.208-53.045%2051.719-90.071%2045.357%2064.719%2011.12%2081.182%2047.953%2045.627%2084.785-80%2082.874-106.667-44.333-106.667-44.333s-26.667%20127.207-106.667%2044.333c-35.555-36.832-19.092-73.665%2045.627-84.785-37.026%206.362-78.648-4.149-90.071-45.357C5.603%20115.832%200%2042.822%200%2032.957%200-16.44%2042.893-.917%2069.364%2019.147Z'/%3e%3c/svg%3e)